- Home
- Grow a starter
Starter guide
Grow a starter from scratch.
Flour, water, a jar and about two weeks. Here is every day of it — what to do, and what you should expect to see. The second part is what decides whether you end up with a starter.
- Time
- 7–21 days
- Each feed
- 50 g + 50 g
- Start with
- Whole rye
- Keep it at
- 78°F / 26°C

Before you start
What you need
A jar
Straight-sided glass, 500 ml / 1 pint or bigger, with a loose lid.
Whole rye flour
Or whole wheat. Whole grain carries far more wild yeast than white.
Water
Filtered, or left to stand an hour. Chlorine makes this harder.
A scale
Grams, not cups. 50 g is 50 g whatever the flour.
A rubber band
Round the jar at the level after each feed, so a rise is obvious.
A warm spot
Around 78°F / 26°C. An oven with only the light on works.
Day by day
What to do, and what to expect.
The feeding is the easy part — equal weights, once a day, twice from day seven. What matters is knowing which of the strange things you will see are normal. Nearly all of them are.
-
Day 1
Mix it
Do this
Stir 50 g of whole rye or whole wheat flour into 50 g of water in a jar. Loosely cover it — it needs air, not a seal — and leave it somewhere warm, around 78°F / 26°C.
Expect
Nothing today. Whole grain flour carries far more wild yeast than white, which is why it goes in first. Use water that has stood out for an hour or been filtered; chlorine makes this harder than it needs to be.
Most starters take 7 to 21 days. Nothing that happens this week means it has failed.
-
Day 2
Feed it, and do not trust the bubbles
Do this
Keep 50 g and throw the rest away. Stir in 50 g flour and 50 g water.
Expect
There may be lively bubbles and a whiff of something cheesy. That is almost never yeast yet — it is other bacteria having a brief party, and it will stop. If nothing is happening at all, that is equally normal.
Most starters take 7 to 21 days. Nothing that happens this week means it has failed.
-
Days 3–4Where most jars get thrown out
The quiet days — keep going
Do this
Same again: keep 50 g, add 50 g flour and 50 g water.
Expect
Flat, sluggish, possibly smelling of old socks or nail varnish. This is the part where most jars get thrown out, and throwing it out is the only real way to fail. The early bacteria have acidified the jar and are dying back; the yeast you actually want is just getting started. Feed it and walk away.
Day 3 of usually 7 to 21. The lull is expected.
-
Days 5–6
Watch for a rise that repeats
Do this
Keep 50 g, add 50 g flour and 50 g water. Mark the jar at the level of the fresh mix so a rise is obvious.
Expect
A dome that comes up and falls back within a day, then does it again after the next feed. One rise proves nothing; the same rise twice means the yeast has taken hold. The smell should be turning sour and beery rather than sharp.
Day 5. Once it rises reliably after a feed, it is close.
-
Days 7–9
Twice a day now
Do this
Feed morning and evening: keep 50 g, add 50 g flour and 50 g water each time. You can swap half the whole grain for white flour from here.
Expect
Rising within 8–12 hours and falling back. Feeding twice a day is what turns a jar that sometimes rises into one that rises on schedule, which is the whole point.
Day 7. Once it rises reliably after a feed, it is close.
-
Day 10 on
Test it
Do this
Keep feeding twice a day. After a feed, mark the level and time how long it takes to double.
Expect
Ready when it doubles within 4–8 hours, predictably, and smells yogurty rather than acrid. Two weeks is normal; three is not a failure in a cold kitchen. A spoonful dropped in water should float once it is there.
Day 10. If it doubles in 4 to 8 hours, graduate it and bake.
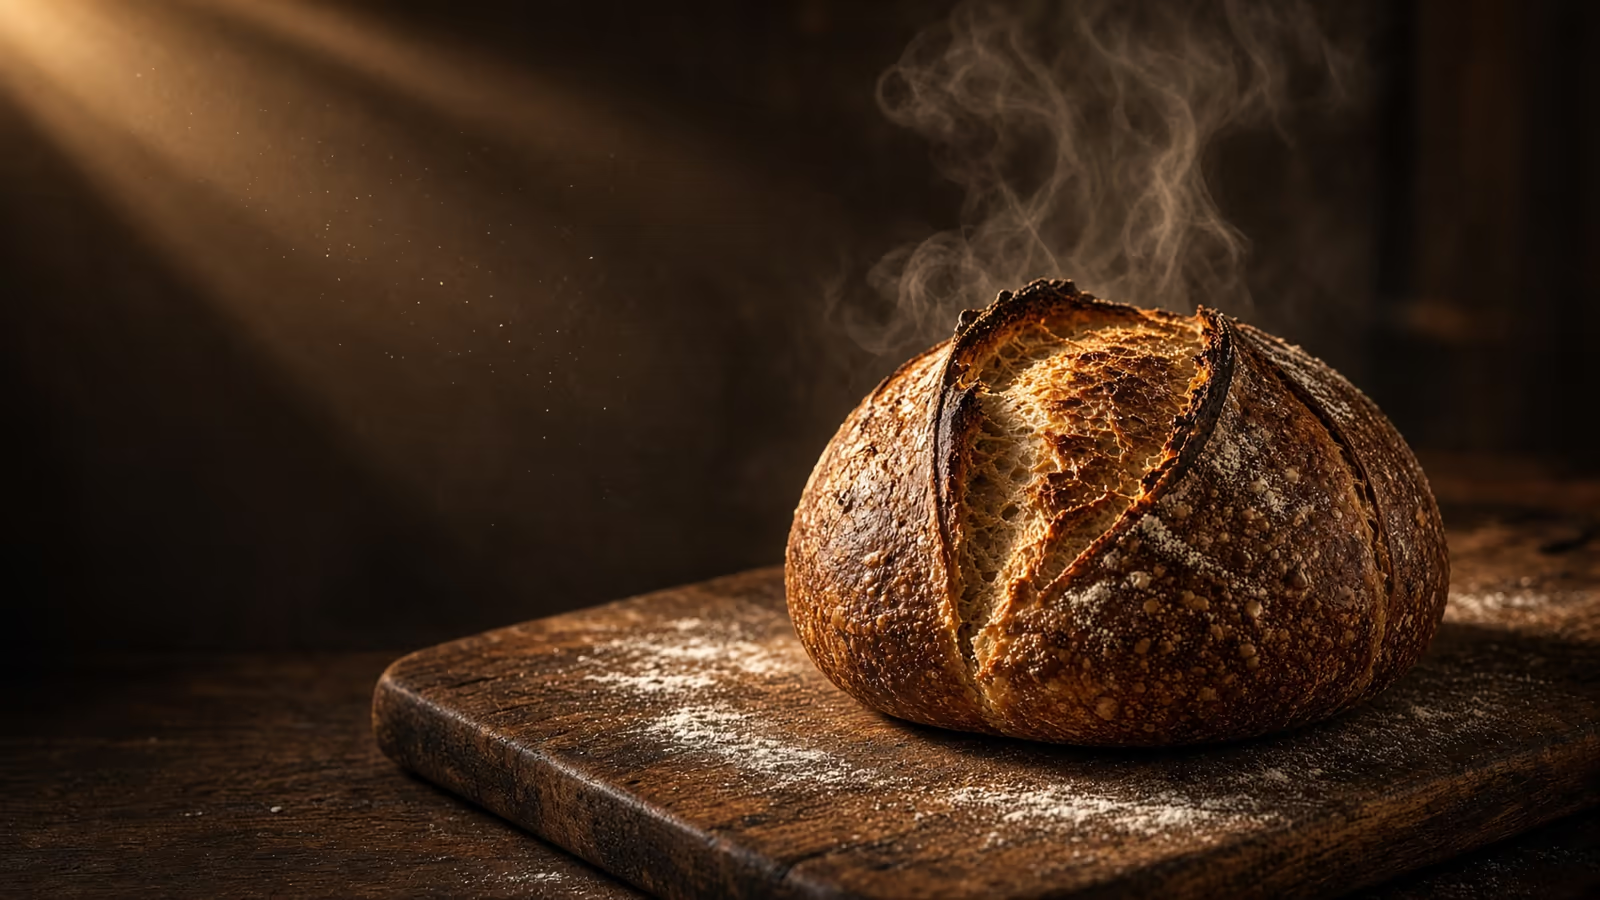
Graduation
How to tell it is ready to bake.
- It doubles within 4–8 hours of a feed — and does it again after the next one.
- It domes, then just starts to fall. That peak is when it is strongest.
- It smells yogurty, sour and a little beery — not acrid or like nail varnish.
- A spoonful floats when dropped gently into water.
Two weeks is normal. Three is not a failure in a cold kitchen. Once it passes, switch to feeding at a bigger ratio — 1 part starter to 5 flour and 5 water — and keep it in the fridge between bakes.
The word that confuses everyone
Starter or levain?
One culture doing two jobs. The starter is the jar you keep alive and feed; it never all gets used, and it outlives every loaf. The levain is a small batch built from a spoonful of that jar a few hours before you mix, and all of it goes into the dough. Plenty of recipes say "starter" for both, which is where the confusion starts.
Building a levain rather than tipping in the jar means it goes into the dough at its peak, you can give it different flour than the jar gets, and a failed bake never costs you the culture.
In the app, the Starter tab is the jar. “Starter (levain)” in a formula is the batch that goes into the dough — and the first step of every bake gives you the exact weights to build it from.
Troubleshooting
When the jar misbehaves
It is not rising
Usually too cold, or fed too rarely. Chlorinated water and bleached flour do not help.
Feed 1:1:1 twice a day and keep it at 77–82°F / 25–28°C — an oven with only the light on works. Swap a quarter of the flour for whole rye. Give it a week before deciding it has failed.
Grey liquid on top
Hooch. It is alcohol, and it means the starter has eaten everything and is hungry.
Pour it off, feed at a bigger ratio such as 1:5:5, and feed more often or keep it cooler.
Fuzzy mould, or pink and orange streaks
This is contamination, not fermentation. Healthy starter never grows fuzz and is never pink or orange.
Throw the whole jar out — do not scrape the top off and carry on, and do not bake with it. Wash everything and start again.
Let the app count the days.
Tap “Grow one from scratch” and the Starter tab tells you what day it is, what to feed, and what to expect — then learns how long yours takes to peak once it is established.